

Hey there! I'm a supplier of Network Board for Speakers, and today I'm gonna share with you how to adjust the EQ settings on a network board for speakers. EQ, or equalization, is super important as it can significantly enhance the audio quality coming out of your speakers. By tweaking the EQ settings, you can make the sound warmer, crisper, or more balanced according to your preference.
First off, let's understand what EQ does. In simple terms, EQ allows you to boost or cut specific frequencies in the audio signal. There are different frequency ranges, each responsible for different aspects of the sound. For example, the low frequencies (around 20 - 200 Hz) are related to the bass, which gives that thumping effect in music, especially in genres like hip - hop and EDM. Mid - frequencies (around 200 Hz - 2 kHz) are where most of the human voice and many musical instruments sit. High frequencies (above 2 kHz) are responsible for the clarity and brightness of the sound, like the sparkle of cymbals in a drum kit.
When you're dealing with a network board for speakers, the process of adjusting EQ can vary a bit depending on the specific model. But generally, there are a few common steps.
Step 1: Know Your Equipment
Before you start making any adjustments, it's crucial to know the capabilities of your network board. Check the user manual that came with it. It'll give you an idea of the available EQ presets, if any, and the range of frequencies you can adjust. Some network boards might have a simple 3 - band EQ (bass, mid, treble), while others could have a more advanced 10 - band or even parametric EQ.
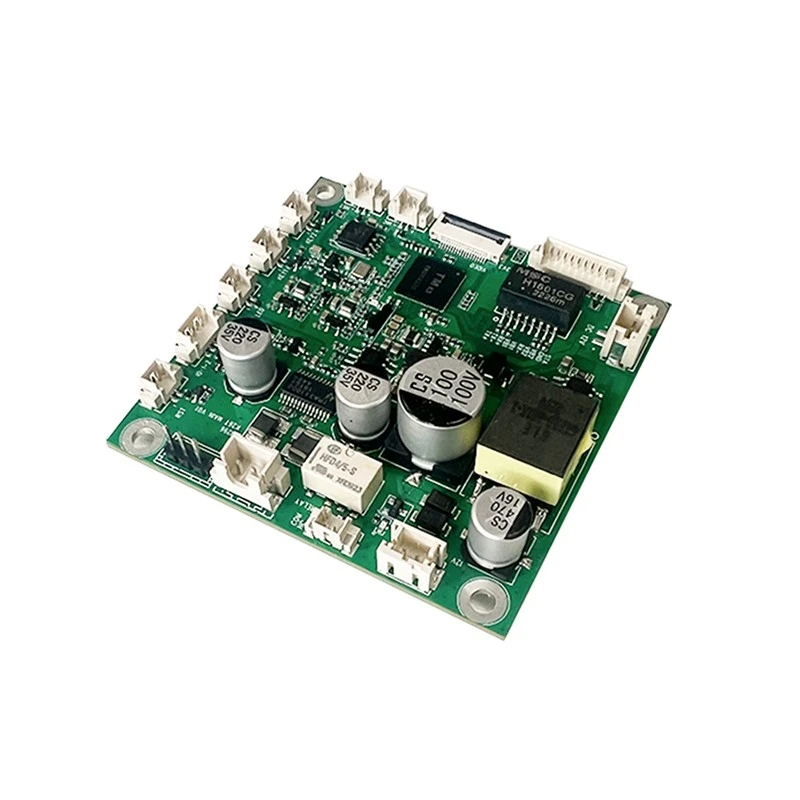
If you're using a Network Board for Speakers from our range, we've designed it to be user - friendly. You can easily access the EQ settings through the control interface, which is intuitive and straightforward.
Step 2: Start with a Neutral Setting
It's always a good idea to start with a neutral EQ setting. This means setting all the frequency bands to their default or zero position. This gives you a clean slate to work from and allows you to hear the natural sound of the audio source through your speakers.
Step 3: Analyze the Audio
Play some music or audio content that you're familiar with. Pay attention to how it sounds. Does it seem too bass - heavy? Or maybe the vocals are a bit muddy? Maybe the high frequencies are too harsh. Identifying these issues will help you decide which frequency bands need adjustment.
Step 4: Adjust the Bass
If the sound lacks punch or depth, you might want to boost the low frequencies. On most EQ interfaces, you'll find a slider or a knob for the bass. Slowly increase the level of the bass frequencies. But be careful not to overdo it. Too much bass can make the sound muddy and can even cause distortion in the speakers. If you're listening to music with a lot of bass - driven elements, like dubstep, you might want to set the bass a bit higher. But for more acoustic or classical music, a more subtle bass boost might be sufficient.
Step 5: Tweak the Mid - frequencies
The mid - frequencies are where you can really shape the character of the sound. If the vocals or instruments seem too dull or lacking presence, you can boost the mid - frequencies. However, if they sound too harsh or sharp, you can cut them a bit. For example, if you're listening to a podcast, a slight boost in the mid - frequencies can make the speaker's voice clearer and more engaging.
Step 6: Enhance the Treble
The treble frequencies add clarity and sparkle to the sound. If the audio seems a bit dull or lacks definition, you can boost the treble. But again, be cautious. Too much treble can make the sound harsh and fatiguing to listen to. You can test the treble adjustment by playing music with a lot of high - frequency elements, like the hi - hats in a drum track.
Step 7: Use Presets (if available)
Many network boards come with pre - set EQ settings for different types of audio content. For example, there might be a "pop" preset that emphasizes the mid - frequencies and treble to make the vocals and percussion stand out. There could also be a "movie" preset that boosts the bass for a more immersive cinematic experience. These presets can be a great starting point, and you can always fine - tune them according to your taste.
Step 8: Fine - Tuning
After making the initial adjustments, listen to different types of audio content. You might find that the settings that work well for one song don't work as well for another. That's when you need to fine - tune the EQ. You can make small adjustments to each frequency band until you're satisfied with the sound quality.

Other Considerations
- Room Acoustics: The environment where your speakers are placed can have a big impact on the sound. A room with hard surfaces can cause reflections and echoes, which can affect the perceived audio quality. You might need to adjust the EQ to compensate for these room effects. For example, if there's a lot of bass buildup in the room, you might want to cut the low frequencies a bit.
- Speaker Quality: The quality of your speakers also matters. High - end speakers can reproduce a wider range of frequencies more accurately. If you have budget speakers, you might need to adjust the EQ more carefully to get the best possible sound.
Now, if you're in the market for a great network board for your speakers, we've got you covered. Our Network Board for Speakers is designed to offer excellent audio performance and easy EQ adjustment. We also have other great products like the Intercom Board and SIP PCB Board that can enhance your audio - related setups.
If you're interested in learning more about our products or want to discuss a potential purchase, don't hesitate to reach out. We're always here to help you find the right solutions for your audio needs.
References
- "Audio Engineering Handbook" by Glen Ballou
- "The Mixing Engineer's Handbook" by Bobby Owsinski