

Hey there! As a supplier of VoIP Board, I've seen a lot of folks scratching their heads when it comes to configuring these boards. It's not as complicated as it might seem at first glance, though. In this blog post, I'm gonna walk you through the process step by step, so you can get your VoIP Board up and running in no time.
What is a VoIP Board?
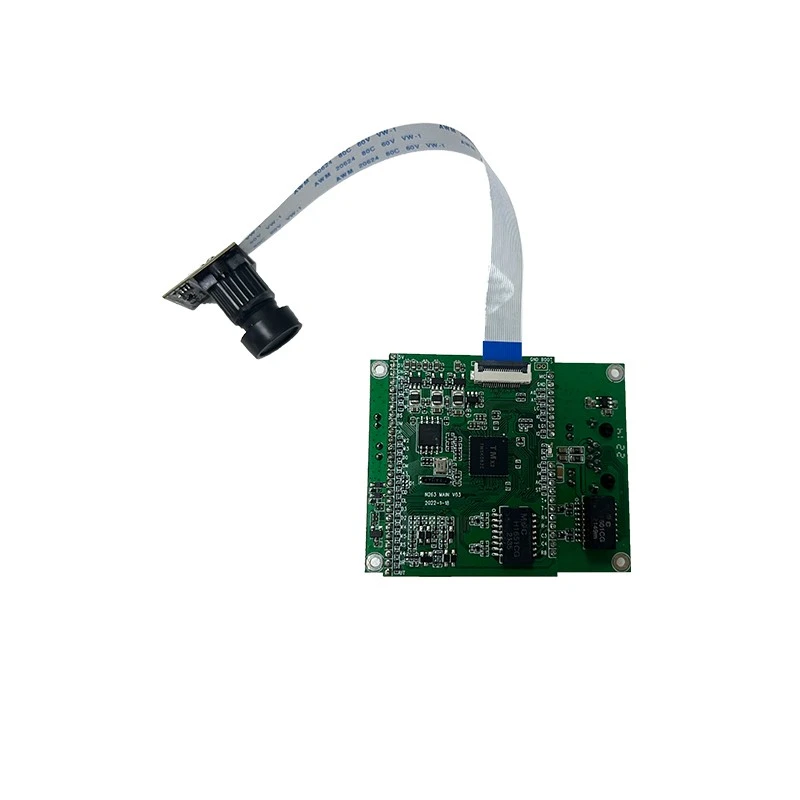
Before we dive into the configuration process, let's quickly go over what a VoIP Board is. A VoIP (Voice over Internet Protocol) Board is a piece of hardware that enables voice communication over the internet. It's a crucial component in many communication systems, allowing you to make and receive phone calls using an internet connection instead of traditional phone lines.
There are different types of VoIP Boards out there, like SIP PCB Board and Intercom Board. Each type has its own features and use cases, but the basic configuration principles are pretty much the same.
Step 1: Gather Your Tools and Information
The first thing you need to do is gather all the tools and information you'll need for the configuration. Here's a list of what you'll typically need:
- VoIP Board: Obviously, you need the board itself. Make sure it's the right type for your needs.
- Computer: You'll use a computer to access the board's configuration interface. It should have a network connection.
- Ethernet Cable: To connect the VoIP Board to your network.
- Username and Password: Most VoIP Boards come with default usernames and passwords. You'll need these to log in to the configuration interface.
- Network Information: This includes your network's IP address range, subnet mask, gateway, and DNS server addresses.
Step 2: Connect the VoIP Board to Your Network
Once you have everything ready, it's time to connect the VoIP Board to your network. Here's how you do it:
- Connect one end of the Ethernet cable to the LAN port on the VoIP Board.
- Connect the other end of the Ethernet cable to your network switch or router.
- Power on the VoIP Board. You should see some lights on the board indicating that it's getting power and connecting to the network.
Step 3: Access the Configuration Interface
Now that the VoIP Board is connected to your network, you can access its configuration interface. Here's how:
- Open a web browser on your computer.
- In the address bar, type in the IP address of the VoIP Board. You can usually find this in the board's documentation or by using a network scanning tool.
- Press Enter. You should see a login page asking for your username and password. Enter the default username and password that came with the board.
- Once you're logged in, you'll see the configuration interface. It might look a bit overwhelming at first, but don't worry. We'll go through the important settings one by one.
Step 4: Configure the Basic Settings
The first thing you'll want to do is configure the basic settings of the VoIP Board. This includes things like the board's IP address, subnet mask, gateway, and DNS server addresses. Here's how:
- Look for the "Network Settings" or "Basic Settings" section in the configuration interface.
- Enter the correct IP address, subnet mask, gateway, and DNS server addresses for your network. Make sure you double-check these values to avoid any connectivity issues.
- Save the settings. The board might restart automatically after you save the settings.
Step 5: Configure the VoIP Settings
Next, you'll need to configure the VoIP settings of the board. This includes things like the SIP server address, SIP username, and SIP password. Here's how:
- Look for the "VoIP Settings" or "SIP Settings" section in the configuration interface.
- Enter the SIP server address provided by your VoIP service provider. This is the server that will handle your voice calls.
- Enter your SIP username and password. These are the credentials you use to authenticate with the SIP server.
- Configure any other SIP settings as required by your service provider, such as the SIP port number and the transport protocol (UDP or TCP).
- Save the settings.
Step 6: Configure the Phone Extensions
Once the VoIP settings are configured, you can start configuring the phone extensions on the board. Each extension represents a phone or a user on your VoIP system. Here's how:

- Look for the "Extensions" or "Users" section in the configuration interface.
- Add a new extension by clicking the "Add" or "New" button.
- Enter a unique extension number for the new extension. This is the number that people will dial to reach this phone.
- Enter a display name for the extension. This is the name that will appear on the caller ID when the phone makes or receives a call.
- Configure any other settings for the extension, such as the voicemail settings and the call forwarding settings.
- Save the settings.
Step 7: Test the Configuration
After you've configured all the settings, it's time to test the configuration to make sure everything is working properly. Here's how:
- Make a test call from one of the phones connected to the VoIP Board to another phone on the same system or to an external number.
- If the call goes through without any issues, then your configuration is successful. If you encounter any problems, check the settings again and make sure everything is configured correctly.
Troubleshooting Tips
If you run into any problems during the configuration process, here are some troubleshooting tips:
- Check the Network Connection: Make sure the Ethernet cable is properly connected and that the board is getting power. You can also try restarting the board and the network switch or router.
- Check the Login Credentials: Make sure you're using the correct username and password to log in to the configuration interface. If you've forgotten the password, you might need to reset the board to its default settings.
- Check the SIP Settings: Make sure the SIP server address, username, and password are correct. You can also contact your VoIP service provider for assistance.
- Check the Firewall Settings: If you have a firewall on your network, make sure it's not blocking the VoIP traffic. You might need to configure the firewall to allow the necessary ports and protocols.
Conclusion
Configuring a VoIP Board might seem like a daunting task, but it's actually not that difficult if you follow the steps outlined in this blog post. By gathering the right tools and information, connecting the board to your network, accessing the configuration interface, and configuring the basic and VoIP settings, you can get your VoIP Board up and running in no time.
If you have any questions or need further assistance with the configuration process, feel free to reach out to us. We're here to help you make the most of your VoIP Board. And if you're interested in purchasing a VoIP Board or any other related products, don't hesitate to contact us for a quote. We offer high-quality products at competitive prices, and our team of experts can provide you with the support you need.
References
- VoIP Board User Manual
- SIP Protocol Documentation
- Network Configuration Guides