

Connecting an intercom board to a door lock is a crucial step in setting up a reliable access control system. As a supplier of intercom boards, I understand the importance of providing clear guidance on this process. In this blog post, I'll walk you through the steps involved in connecting an intercom board to a door lock, ensuring a secure and efficient installation.
Understanding the Basics
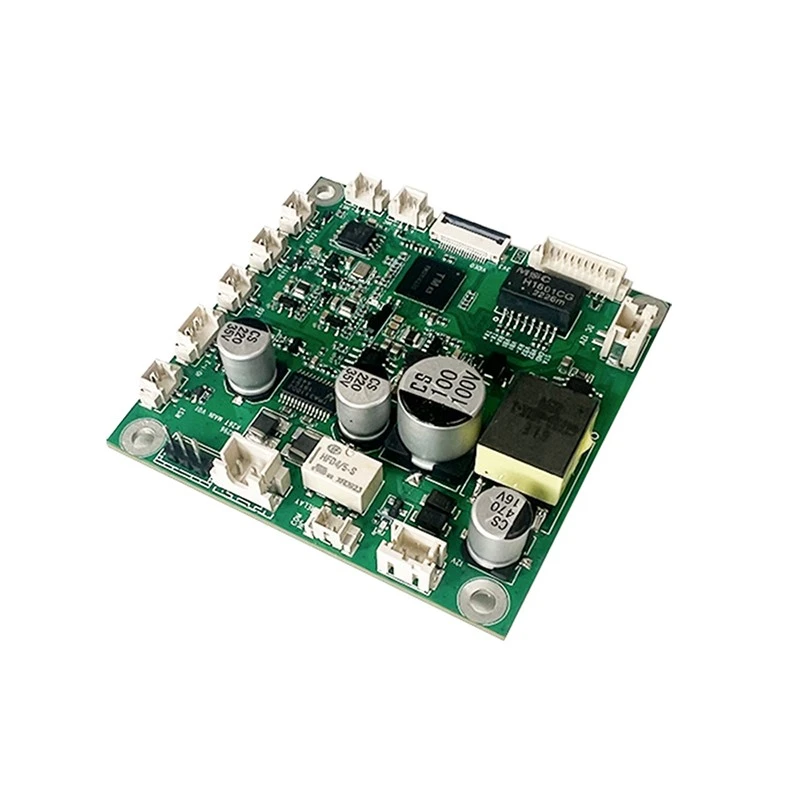
Before we dive into the connection process, it's essential to understand the key components involved. An intercom board serves as the central hub of the intercom system, facilitating communication between the indoor and outdoor units. It also plays a vital role in controlling the door lock, allowing authorized users to gain access to the premises.
A door lock, on the other hand, is the physical device that secures the door. It can be either an electric strike or a magnetic lock, depending on the specific requirements of the access control system. The intercom board communicates with the door lock to release it when a valid access request is received.
Step 1: Gather the Necessary Tools and Materials
To connect an intercom board to a door lock, you'll need the following tools and materials:
- Intercom board: Ensure that you have the appropriate intercom board for your specific system. You can explore our range of Intercom PCB for various options.
- Door lock: Choose a door lock that is compatible with your intercom board. Consider factors such as the type of lock (electric strike or magnetic lock), the power requirements, and the security features.
- Power supply: Provide a stable power source for both the intercom board and the door lock. Make sure the power supply meets the voltage and current requirements of the devices.
- Wiring: Use high-quality wiring to connect the intercom board to the door lock. The wiring should be properly insulated and rated for the electrical load.
- Screwdrivers: You'll need screwdrivers to mount the intercom board and the door lock securely.
- Wire strippers: These tools are essential for stripping the insulation from the wires to make proper connections.
Step 2: Mount the Intercom Board and the Door Lock
The first step in the installation process is to mount the intercom board and the door lock in their respective locations. Here's how you can do it:
- Intercom board: Choose a suitable location for the intercom board, preferably near the entrance door. Make sure the location is easily accessible and provides a clear line of sight to the outdoor unit. Use the provided mounting brackets and screws to secure the intercom board to the wall.
- Door lock: Install the door lock on the door frame according to the manufacturer's instructions. Ensure that the lock is properly aligned and securely fastened. For electric strikes, make sure the strike plate is installed correctly on the door.
Step 3: Connect the Wiring
Once the intercom board and the door lock are mounted, it's time to connect the wiring. Follow these steps to ensure a proper connection:
- Power supply: Connect the power supply to the intercom board and the door lock. Make sure to follow the wiring diagram provided by the manufacturer to avoid any electrical hazards.
- Intercom board to door lock: Connect the output terminals of the intercom board to the input terminals of the door lock. The wiring should be color-coded to make it easier to identify the connections. Use wire nuts or crimp connectors to secure the connections.
- Grounding: Ensure that both the intercom board and the door lock are properly grounded. This helps to prevent electrical interference and ensures the safety of the system.
Step 4: Configure the Intercom Board
After the wiring is connected, you need to configure the intercom board to work with the door lock. Here's how you can do it:

- Programming: Follow the manufacturer's instructions to program the intercom board. This may involve setting up user codes, access levels, and other security features.
- Testing: Test the intercom system to ensure that it is working properly. Make a call from the outdoor unit to the indoor unit and verify that the communication is clear. Also, test the door lock by sending a release signal from the intercom board.
Step 5: Troubleshooting
If you encounter any issues during the installation or configuration process, here are some common troubleshooting tips:
- Check the wiring: Make sure all the connections are secure and there are no loose wires. Check for any signs of damage or fraying in the wiring.
- Verify the power supply: Ensure that the power supply is providing the correct voltage and current. Check the power cables and connectors for any issues.
- Review the programming: Double-check the programming settings on the intercom board to make sure they are correct. Refer to the user manual for detailed instructions.
- Contact technical support: If you are still unable to resolve the issue, contact our technical support team for assistance. We have a team of experts who can help you troubleshoot and fix any problems.
Considerations for Networked Intercom Systems
If you are using a networked intercom system, there are some additional considerations to keep in mind:
- Network connectivity: Ensure that the intercom board is connected to the network using a reliable Ethernet cable. Make sure the network settings are configured correctly, including the IP address, subnet mask, and gateway.
- Security: Implement appropriate security measures to protect your networked intercom system from unauthorized access. This may include using strong passwords, enabling encryption, and regularly updating the firmware.
- Compatibility: Make sure the intercom board is compatible with your network infrastructure. Consider using a Network Board for Speakers for seamless integration with your network.
Conclusion
Connecting an intercom board to a door lock is a relatively straightforward process if you follow the steps outlined in this blog post. By understanding the basics, gathering the necessary tools and materials, mounting the components correctly, connecting the wiring, configuring the intercom board, and troubleshooting any issues, you can ensure a successful installation.
As a supplier of intercom boards, we are committed to providing high-quality products and excellent customer support. If you have any questions or need further assistance with your intercom system installation, please don't hesitate to contact us. We are here to help you make the most of your access control solution.
If you're interested in purchasing our intercom boards or other related products, we invite you to reach out to us for a detailed discussion. Our team of experts can provide you with personalized recommendations based on your specific requirements. Let's work together to create a secure and efficient access control system for your premises.
References
- Manufacturer's manuals for the intercom board and the door lock.
- Industry standards and best practices for access control system installation.