

Installing an IP speaker might seem like a daunting task, especially if you're not well - versed in networking and audio systems. As an IP speaker supplier, I've seen firsthand the confusion that many customers face during the installation process. In this blog, I'll guide you through the step - by - step process of installing an IP speaker, making it a hassle - free experience for you.
Understanding IP Speakers
Before we dive into the installation process, it's essential to understand what an IP speaker is. IP speakers, also known as network speakers, are audio devices that use Internet Protocol (IP) to transmit audio signals over a network. This is different from traditional analog speakers, which require dedicated cables for audio transmission. IP speakers offer several advantages, including easy scalability, remote management, and the ability to integrate with other network - based systems.
Prerequisites
- Network Infrastructure: Ensure that you have a stable and reliable network. An IP speaker relies on a network connection to receive audio data, so a weak or unstable network can lead to poor audio quality or even complete failure of the speaker. A wired Ethernet connection is generally preferred over Wi - Fi for better stability.
- Power Source: Each IP speaker needs a power source. Some IP speakers support Power over Ethernet (PoE), which means they can receive both power and data through a single Ethernet cable. If your speaker doesn't support PoE, you'll need to provide a separate power adapter.
- Configuration Software: You'll need the appropriate configuration software provided by the IP speaker manufacturer. This software allows you to set up the speaker, assign an IP address, and adjust audio settings.
Step 1: Planning the Installation
- Location Selection: Choose the location where you want to install the IP speaker carefully. Consider factors such as the coverage area, the distance from the network switch, and the presence of any obstacles that could block the audio. For example, if you're installing the speaker in a large hall, you might want to place it at a central location to ensure even audio distribution.
- Network Layout: Map out your network layout. Determine how the IP speakers will be connected to the network. You can use a network switch to connect multiple speakers. Make sure that the switch has enough ports to accommodate all the speakers you plan to install.
Step 2: Mounting the IP Speaker
- Wall - Mounting: If you're wall - mounting the IP speaker, use the appropriate mounting brackets provided by the manufacturer. Drill holes in the wall at the marked locations and secure the brackets. Then, attach the speaker to the brackets. Make sure the speaker is level and securely fastened.
- Ceiling - Mounting: For ceiling - mounted speakers, follow the manufacturer's instructions for installation. You may need to cut a hole in the ceiling and install a ceiling plate. Attach the speaker to the ceiling plate using the provided hardware.
Step 3: Connecting the IP Speaker to the Network
- PoE Connection: If your IP speaker supports PoE, simply connect one end of the Ethernet cable to the speaker and the other end to the PoE - enabled network switch. The switch will provide both power and data to the speaker.
- Non - PoE Connection: If the speaker doesn't support PoE, connect the Ethernet cable to the speaker and the network switch. Then, plug the power adapter into the speaker and a power outlet.
Step 4: Configuring the IP Speaker
- Assigning an IP Address: Use the configuration software to assign an IP address to the speaker. You can choose a static IP address or use DHCP (Dynamic Host Configuration Protocol) to automatically assign an IP address. A static IP address is recommended if you want more control over the network settings.
- Audio Settings: Adjust the audio settings such as volume, tone, and equalization according to your requirements. You can also configure the speaker to receive audio from specific sources, such as a media server or a microphone.
Step 5: Testing the IP Speaker
- Audio Playback: Play some audio through the IP speaker to test its functionality. You can use a media player or a test tone generator. Check if the audio is clear and there are no distortion or connectivity issues.
- Network Connectivity: Verify that the speaker is properly connected to the network. You can use network diagnostic tools to check the IP address, ping the speaker, and ensure that it can communicate with other devices on the network.
Troubleshooting Common Issues
- No Audio: If you're not getting any audio from the speaker, check the power connection, the network connection, and the audio settings. Make sure that the speaker is powered on and the volume is turned up.
- Poor Audio Quality: Poor audio quality can be caused by a weak network connection, incorrect audio settings, or interference. Check the network speed, adjust the audio settings, and move the speaker away from any potential sources of interference.
- Connectivity Issues: If the speaker is not connecting to the network, check the Ethernet cable, the network switch, and the IP address settings. Make sure that the cable is properly plugged in and the switch is functioning correctly.
Integration with Other Systems
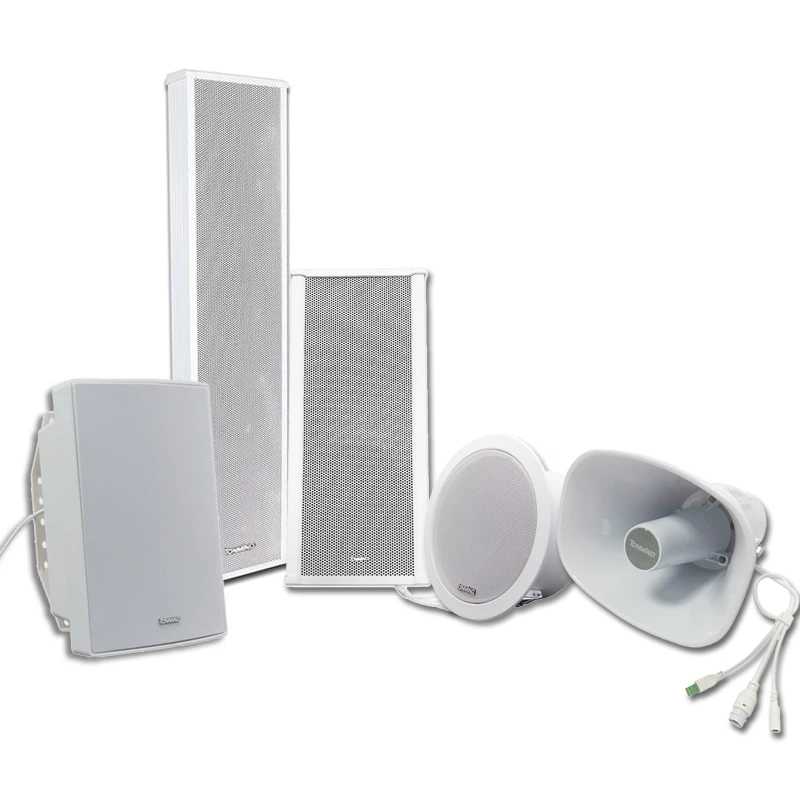
IP speakers can be integrated with other systems such as a Public Address And Voice Evacuation System. This integration allows you to use the IP speakers for emergency announcements, background music, and other applications. To integrate the IP speakers with a public address system, you'll need to follow the integration instructions provided by both the IP speaker and the public address system manufacturers.

Maintenance and Upkeep
- Regular Cleaning: Keep the IP speaker clean by wiping it with a soft, dry cloth. Avoid using abrasive cleaners that could damage the speaker's surface.
- Firmware Updates: Check for firmware updates regularly. Firmware updates can improve the performance, add new features, and fix security vulnerabilities.
- Network Monitoring: Monitor the network to ensure that the IP speakers are functioning properly. Look for any signs of network congestion or connectivity issues.
Conclusion
Installing an IP speaker doesn't have to be a difficult task. By following the steps outlined in this blog, you can successfully install and configure an IP speaker in your desired location. As an IP speaker supplier, we're committed to providing you with high - quality products and excellent support. If you have any questions or need further assistance with the installation process, don't hesitate to contact us. We're here to help you make the most of your IP speaker system. Whether you're looking to set up a small audio system for a local business or a large - scale public address system, our team of experts can guide you through every step of the process. Contact us today to discuss your requirements and start your journey towards a superior audio experience.
References
- Manufacturer's Installation Manuals
- Network Administration Guides
- Audio System Design Books